Your shopping cart is empty!

A vintage 2008 article, written by a 197cm race competitor, daily MX-5 driver.
Below is a summary of my experiences collected trying to race and autocross in a stock-limiting class and get myself into a very small car at 197cm with a helmet. And most important — win.
A 2026 update: The NC and ND didn't exist when this was written. Today the picture looks like this:
Now back to 2008 and the original guide.
The goal: 197cm driver, racing helmet, autocross class with stock seating. Every millimetre matters. The measures below are ordered from safest to most involved.
Defoaming gives the most headroom of any measure on this list. Done to the extreme, you can gain 40–50mm. There are three parts: the seat base, the backrest, and the headrest.
Tools needed: 100mm zip ties, wrenches (10, 12, 14, 17mm), flat and Phillips screwdrivers, pliers, curved bread knife.
Slide the seat to the back, unscrew the 2 front bolts, slide to the front, unscrew the rear bolts and the belt rail bolt. It is an easy and enjoyable job — best play some nice music.
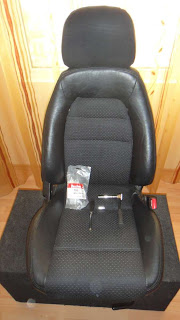
There is a nut and screw to remove.
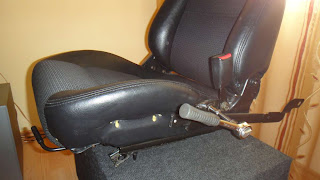
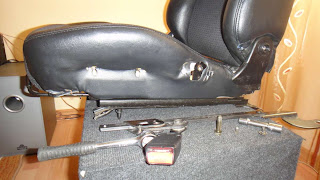
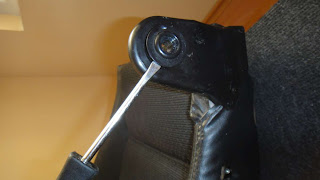
Pull the backrest adjustment lever to the front. A flat screwdriver helps here.
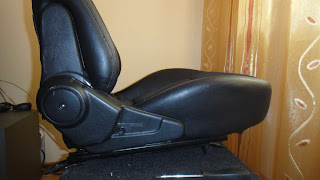
Unscrew the screw in the middle of the arm and slide the trim forward over the lever. You will see 2 grade-10 bolts to unscrew next.
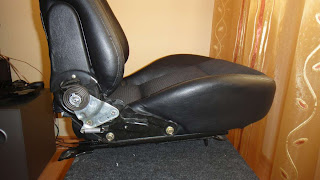
Detach the backrest by pushing it gently to the side. These photos show the right seat — the left is mirrored.
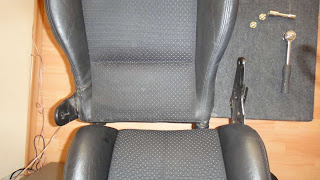
Detaching the rails is straightforward unscrewing.
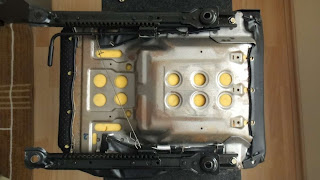
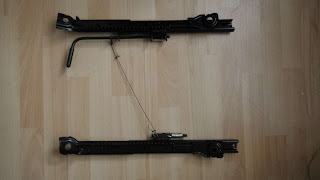
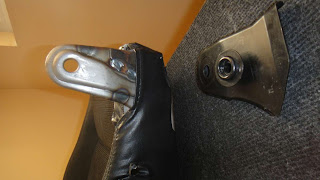
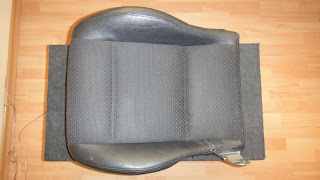
Start removing the metal clips. Best to try with pliers and a flat screwdriver.
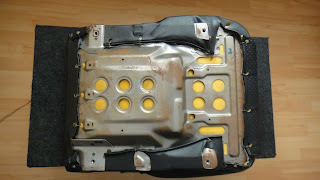
There are two more on the sides to challenge you.
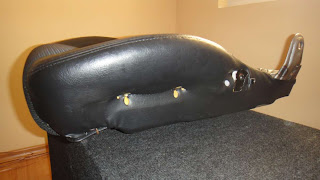
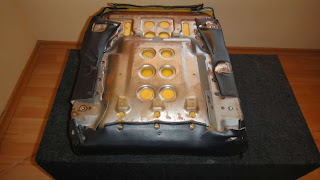
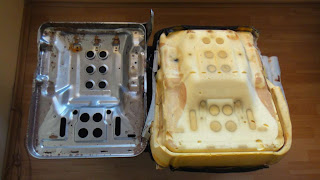
Best experience with a curved bread knife — even better than an electric one.
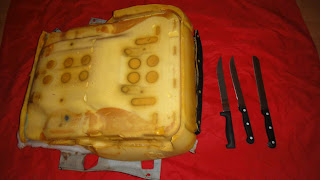
Cut the centre hump first. There are wires underneath — do not cut too deep.
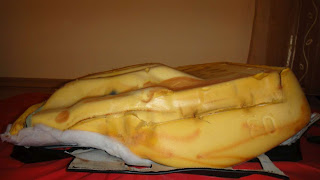
Next cut the front, go lower than the front lip. Take the maximum on the sides — they will be lifted up too much afterwards and can hurt on long trips.
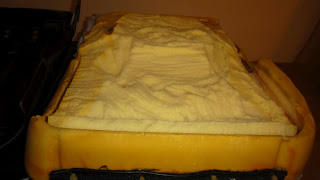
You can use the chance to clean any rust from the metal seat frame and paint it. At this point I go a step further and hammer the metal frame down at the front part, which is too lifted. This is a crash-relevant area — the body normally slides down on front impact and is held by this zone. Your choice to do it or not.
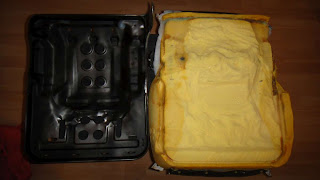
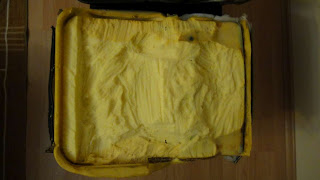
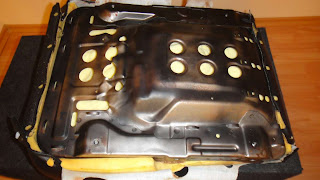
This is how much space we have now between the metal sheet and the foam.
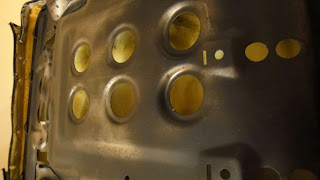
Assemble the seat and put back the cover. Use zip ties to secure it. Check multiple times that the cover looks as even as before defoaming — no part should be hanging.
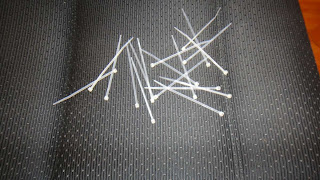
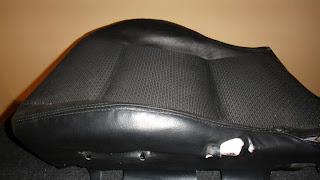
If you tested the top surface movement initially, you should register almost zero movement now. Gold cup achievement.
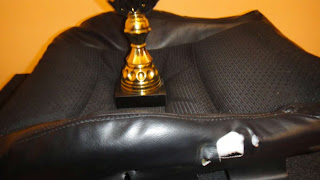
Leftover from the seat defoaming.
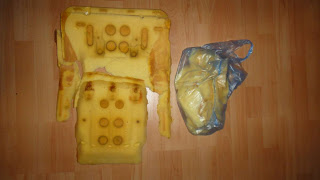
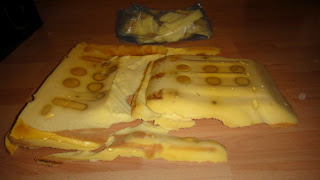
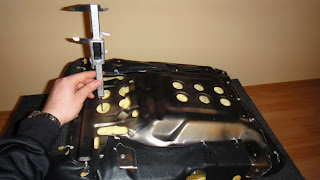
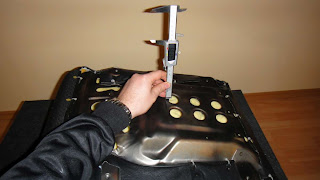
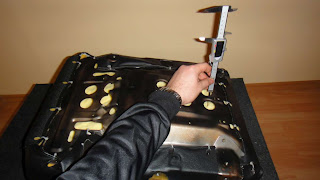
Gently strip off the front part, uncovering approximately 10mm of foam underneath. Cut all this foam to the metal.
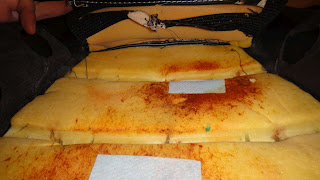
Put it back together with zip ties.
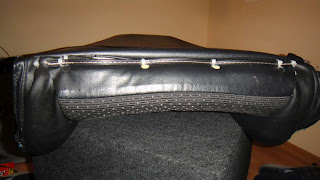
This is the leftover — gives approximately 10mm rearward seat position.
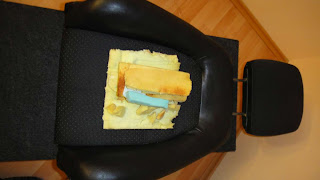
Put the bracket back and get the seat together.
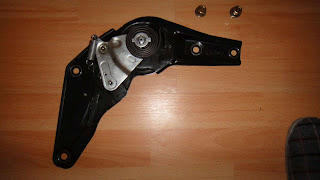
This allows you to fully tilt the backrest to the cabin brace or wind deflector.
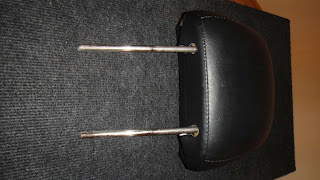
Take out the leather from the clip with a flat screwdriver.
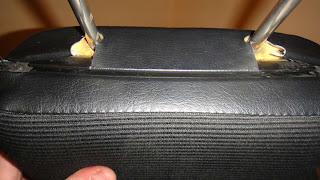
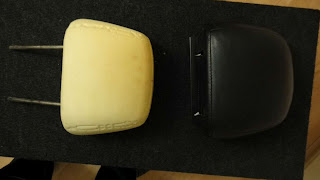
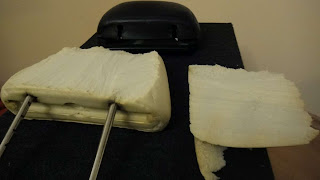
Cut from the back only. The front is crash-relevant — do not touch it.
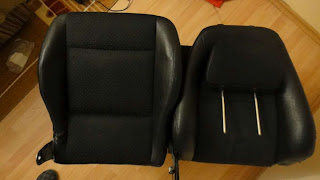
Everything ready, looks shiny and new.
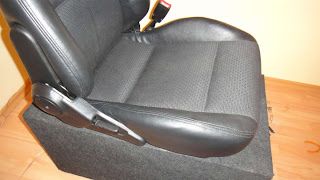
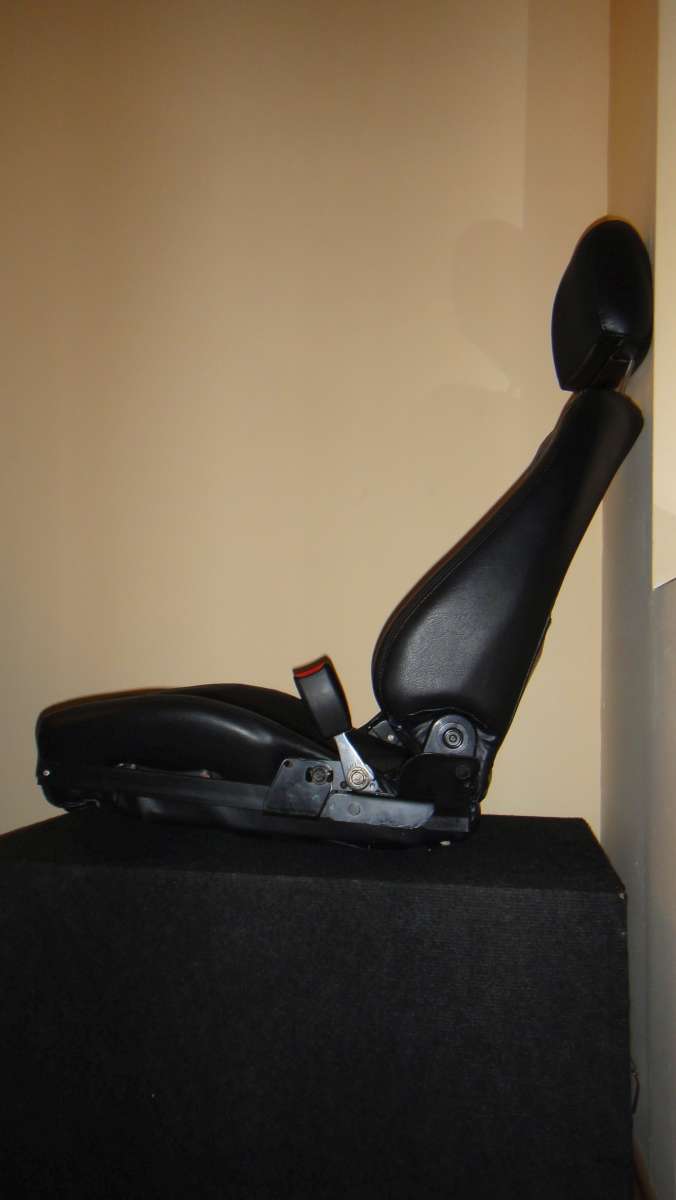
Result: Distance from defoamed seat surface to top of headrest — 85cm. Distance from ground to top of headrest with full tilt — 85cm.
Stock MX-5 seats after defoaming measure 85cm seat-to-headrest top. I raced with the stock defoamed seats — my class required fully adjustable seating. After defoaming the stock seats it is difficult to find a lower aftermarket alternative on rails. They are made from a very thin metal shell that sits between and uses the space within the rails — you effectively sit on the rails. Most aftermarket seats need an additional adapter bracket on top of the stock rails, building height back up.
Stock brackets are 25mm (1 inch) high. To get the most from an aftermarket seat you will need to sacrifice fore/aft adjustment and bolt the adapters to the floor. The extreme version is flattening the floor pan and bolting through it. Saying this - I used for some years just bare shell seats bolted to the floor and this was the lowest possible position. Not really needed if you are daily driving the car, as I can race with helmet even with the OEM seats, which offer more variety.
You gain headroom by tilting the backrest further rearward. To do this:
Done correctly this allows you to tilt the backrest one click further. That one click makes a significant difference.
The following pictures show the problem areas in a bone stock MX-5 with a 197cm driver:
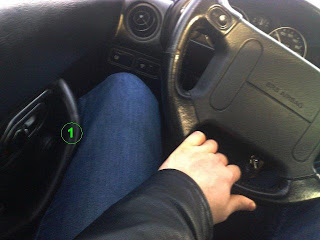
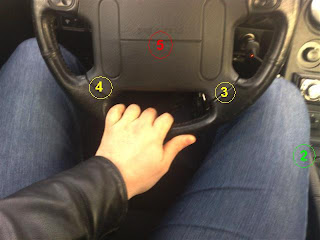
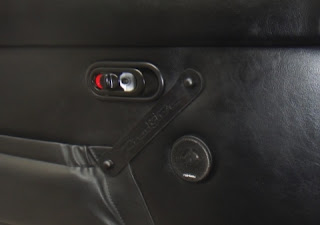
Ideally remove the door pull completely and replace it with a strap. As my MX-5 was also my daily driver and I was working as interior concept engineer for BMW, I needed something smarter. See the leather door pulls in the shop.
Right-hand-drive owners have the advantage. For left-hand-drive: remove the plastic covers and bend the handbrake lever until comfortable. It makes a significant difference.
With power steering, the best size at 197cm is 300mm (280mm already feels too small). If you have an airbag and want to keep it, the Raid Silverarrow is an option. Without power steering, go no smaller than 300mm.
Moving the wheel closer makes the biggest single difference for legroom. This requires removing the airbag — no wheel spacers work with airbag wheels. Removing the airbag is a safety consideration and is illegal in some countries. My decision: it is safer for me to drive without it than to be unable to turn the wheel quickly with both hands. A personal decision — weigh it accordingly.
For the record only — not recommended and the gain is small for the risk. You can raise the wheel slightly by removing the thick metal bracket between the steering column and the cockpit frame. Expect approximately 5–6mm lift. I only have this picture of the bracket:
.jpg)
Important: Do not remove or incorrectly refit the two spacers that allow the steering column to collapse downward in a front impact. These are a primary safety component.
This is the result after taking all legroom measures:
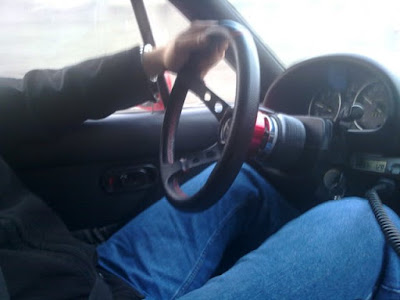
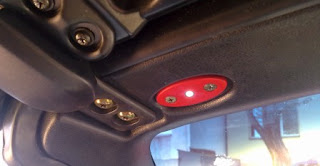
Remove the sun visor on the driver's side at minimum — it makes a noticeable difference to forward sight. It does have a safety function in front of the hard A-pillar, so consider this. This is the replacement cap I fabricated to fill the empty gap — a clean, functional interior light:
As I eventually could not fit in the MX-5 NB/MK2, I moved to the lighter NA/MK1. All of the above applies to the NA. For the NB:
There is a great deal of information scattered across the internet about fitting tall drivers in the MX-5, but no single place that brings it together. This guide is the result of doing it all from scratch. I hope it saves someone the time it took me.
For the seat lowering products developed from this work — see the Jass Performance MX-5 NA product range.
| Mazda MX5 Model | |
| NA (MK1) | |
|---|---|
| NB (MK2) | |


| Name | |